DIY Your Way to Gold Bangles

Holiday party action is in full swing and the pressure is on to look glittery and fancy. That means it’s time to get creative in the fashion department and never, ever snub your nose at a stylish DIY project.
These uber fabulous gold bangle bracelets are actually courtesy of the queen of doing-it-yourself, Martha Stewart. They’re completely genius in the fact that you only need a handful of inexpensive items and you can have an armful of bangin’ bangles. Best part of whipping up your own? You’ll never have to fear the “Oh no, she’s wearing the same thing as me” moment.
Tools and Materials
Hot-glue gun
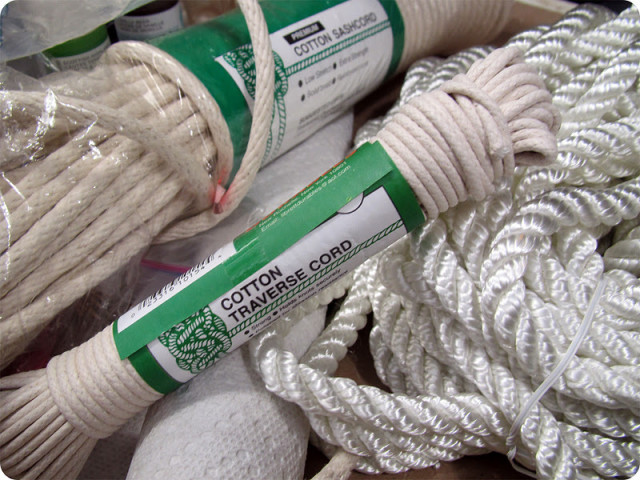
Thin cotton rope
Fabric stiffener
Plastic wrap
Liquid leaf oil paint
Rope Bangle Bracelet How-To
1. Squirt a dime-size amount of hot glue onto glue pad. Line up ends of thin cotton rope and press into hot glue. Let cool.
2. Twist, braid or knot rope in the design you prefer. Make a loop, and adjust loop until inside diameter measures 2 1/2 inches (small), 2 5/8 inches (medium), or 2 3/4 inches (large); mark end point with finger.
3. Squirt another dime-size amount of hot glue onto glue pad; press rope into glue where your finger is holding the end. Let cool to secure. Once cooled, cut through hot glue at bottom end; trim strands at top end. Use hot glue to neatly attach two ends together.
4. Pour fabric stiffener into bowl; submerge rope bracelet. Remove bracelet from stiffener and use fingers to remove excess.
5. Cover a drinking glass with plastic wrap. Place bracelet over cup and push down to form into a circle; keep in place for one minute, then remove. Place bracelet on plastic wrap on a flat surface and press down to level it. Let dry 2 to 12 hours (use a fan to speed up drying time).
6. Paint with liquid leaf; let dry.