Get the Grill Going
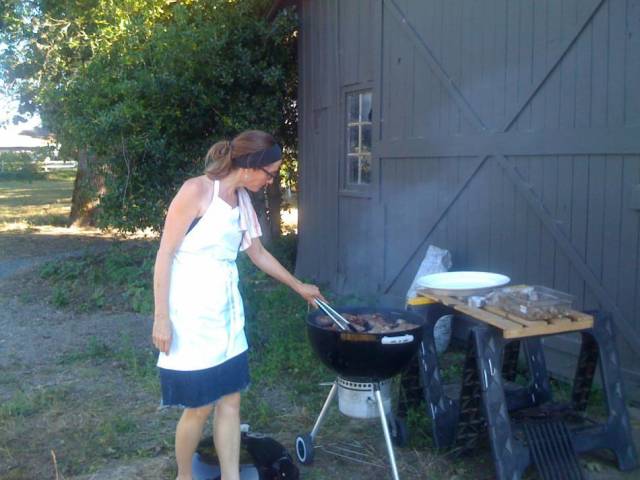
Outdoor Grilling at Wild Goose Farm
In my family, I’m the grill girl. I never understood why boys got to play with fire and girls didn’t when I was growing up. Watching all the dads do the grilling made me mad; I wanted to be the cook and knew I could do it better. Even during the recent January snowstorms, I was out in the elements, on my tenth story deck, tending the flames. Grilling in good weather is a cinch, especially when you have the right tools and a good grill.
The person who loves to grill tends to be a bit of a fanatic (you know who you are out there). We grill chefs each have our own method and quirks. I love watching my friends approach their grills to see what techniques they might have. Usually, I want to grab the tongs away and take over. I refrain, standing back politely, wishing that they’d let me have my way with the food. If they’re cooking on gas or propane, I try and keep my negative comments to myself, but it’s not always easy. There’s nothing that replaces the smoky, deep flavors of cooking over real wood or charcoal.
As for grills, I’ve seen all those cool and groovy looking barbeques out there, but I’m a Weber girl 100 percent. I own a medium sized round "kettle" style Weber. Invented in the early fifties by an avid home griller and metal worker. in Illinois, the Weber grill is a classic for a reason. It started out as a cut-in-half buoy, to protect the charcoal area from winds, and voila, George Stephen created the kettle style barbeque. It has everything you need and the price is right. From the portable Anywhere Grill ($49) to the massive Ranch Kettle Grill ($950). Ace hardware and other hardware stores normally stock a good selection. And if your wallet is really hurting, grab a little cast iron habachi grill ($24) instead.
Here are some tips I’ve learned over the years.
1. Timing is everything. Start your coals early enough, but not too early. This takes practice, and different brands of coals have different burning times. Avoid any brands that have chemicals on the coals to help them get started and burn evenly. The chemicals will alter the flavor of your food.* Look for pure wood charcoal.* And be forewarned: mesquite charcoal takes longer to achieve a nice even and hot enough cooking temperature. Once the coals begin to die down and are bright red, with edges just becoming white, get the food on the grill. Missing the hot opportunity can be just as dreadful as starting too soon. If your coals do die down, get a good sear on the items and transfer them to a hot oven to finish cooking.
2. Leave an area for indirect heat when you set up your hot coals. That way, if something is searing too much or flames are flaring up, you can shift the food over to the indirect area to let it calm down and prevent it from scorching. Some foods do better over a slower, indirect heat.
3. Have your tools ready: A chimney charcoal starter is essential (we’re not talking propane here). A pair of fire-proof gloves to handle the coal starter or shift your coals once they’re dumped. (In the morning of the day you’re grilling, make sure there are enough coals in the bag, I always keep a back up bag, just in case.) A steel brush to clean the grill. A great pair of professional quality long tongs. One of my favorite accessories is the cast-iron grill that fits on top of the barbeque grill, for an even better sear. Let it heat up with the coals so it’s super hot when you put those skewers of vegetables or that big side of salmon down.
4. For those not adept at checking meat temperatures by intuition, or using the poking method, invest in a meat thermometer. There’s nothing worse than overcooking that gorgeous rib-eye you spent half a day’s wages on.
5. Don’t get distracted. Bring your rose and your friends outside so you can concentrate on the grilling.