Make Your Own Easy Party Pinwheels
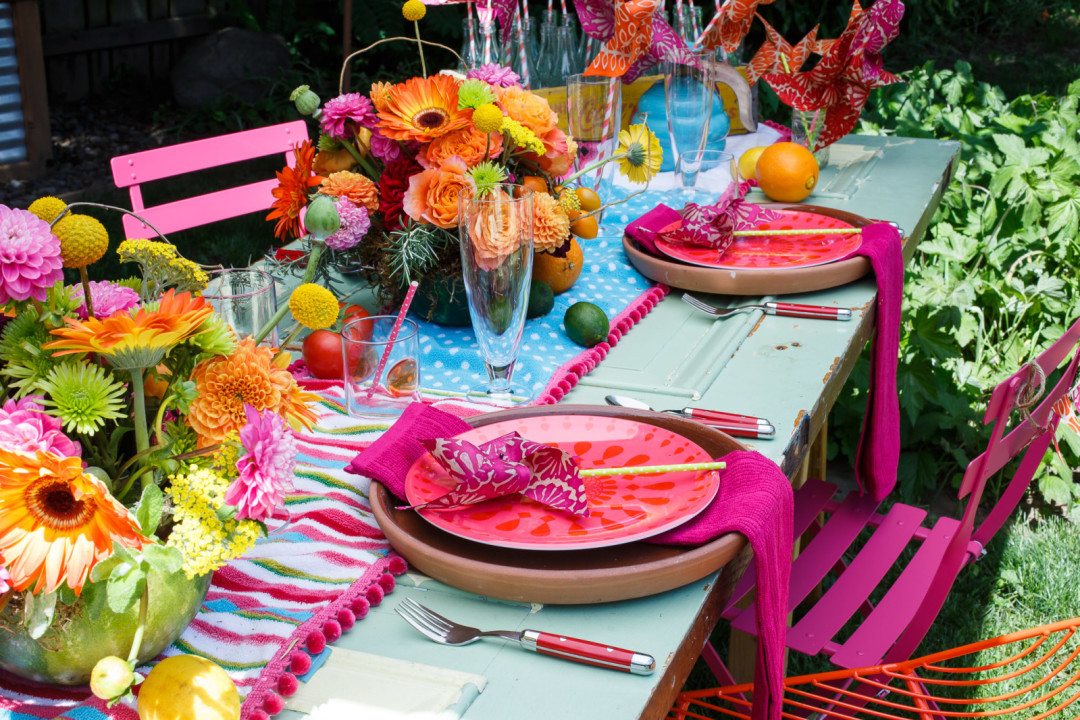
Image: Stuart Mullenberg
What You Need
Thick paper in bold pattern (Kim uses art paper in a batik print, card stock works great for larger pinwheels)
Pearl or pear headed florist pins
Paper straws
Scissors
Small beads (optional)
How to
1. TRIM your paper into a 6 x 6 inch square (try a 4 x 4 inch square for smaller pinwheels or an 8 x 8 inch square for a larger pinwheel).
2. MAKE YOUR PATTERN by folding the paper square point to point to create a triangle, and then fold point to point one more time to create a smaller triangle. Unfold your square. (It should now be creased into an X pattern.)
3. CUT along each creased line to within a 1/2 inch of the center of the paper. Do not cut all the way through the center of the paper. You should end up with a square with eight corners joined in the middle.
4. FOLD the first corner of the pinwheel in toward the center of the paper, pierce through with your straight pin and repeat with every other corner (1st, 3rd, 5th, 7th) until all four corners are pinned together and you’ve made a rough pinwheel shape. Then continue to push the pin through the very center of the paper to secure all corners.
5. ATTACH your pinwheel to an upright paper straw by pushing the pin through the straw about a half-inch from the top. (Slide a wooden bead between your pin and the pinwheel if you want it to spin properly.) The end of your pinwheel will be sharp, so cap it off with a piece of eraser or a bit of tape if you like.
Enjoy!